Preparing your project
This is how I cut out wool pieces for appliqué. For this demonstration, I was making small round ornaments or coasters.
Background pieces: freezer paper method:
Freezer paper allows you to trace and cut an exact shape (here we are just doing a circle) and the paper also supports the wool nicely while you're cutting, so you get a cleaner cut.
1. Draw your background shape onto the smooth side of the freezer paper, using pencil.
 |
| I used a cashew can lid as a template...and had a snack too. |
2. Cut roughly around the shape, leaving a small margin that will be cut off later.
3. Lay paper on the wool, waxy side down.
4. Press to adhere the paper to the wool.
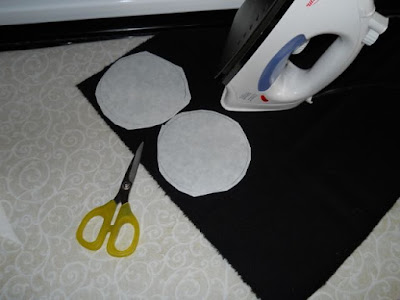 |
| about 5-10 seconds with the iron should make it stick on |
5. With sharp scissors cut out the shape exactly on the drawn line. Remove paper.
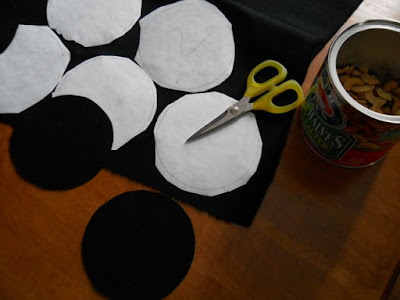 |
| and have a few more cashews.... |
 |
I also cut out the backing pieces at the same time.
|
Small design pieces: Fusible web method:
Fusible web allows you to trace and cleanly cut your wool pieces, and you can then position and bond them in place. I usually use Heat n Bond light, which is light enough to stitch through easily.
The alternative would be to cut out with freezer paper and then pin or glue everything in place. I find that fusible web gives better results, especially with small pieces. The fusible web protects the wool from fraying and makes the project very portable.
It is important to REVERSE your image (or make sure your templates have already reversed for you)
1. Trace your (reversed) image onto the paper side of the fusible web.
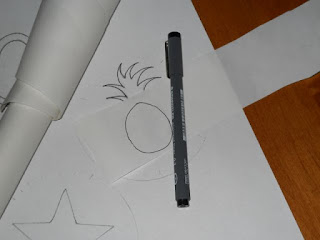 |
| use a felt pen (Sharpie fine or similar) |
2. Cut out the web roughly, leaving a margin. Press the web onto the correct color of wool using your iron (follow manufacturer's instructions).
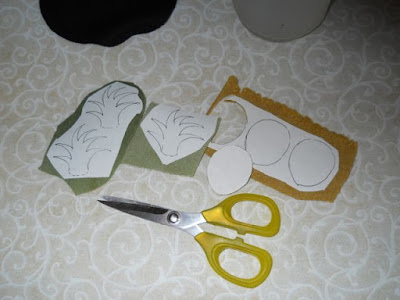 |
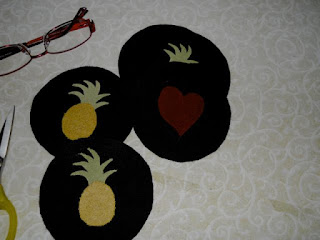
| I'm making little pineapple ornaments using green and gold wool scraps. |
2. Cut out the wool exactly on the drawn lines. Peel off the paper.
 |
| peel off the paper and flip the piece over so it's shiny side down, then press |
3. Time to stick the first piece of wool onto the background! Sometimes it's important to put the pieces on in the correct order!! For example, the green foliage must be put on
before the gold pineapple fruit.
Peel off the paper, and place the wool
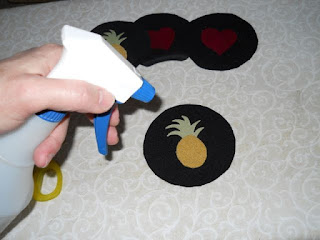
shiny side down. Make sure the piece is exactly where you want it, then press with your iron to adhere. I gently spritz with a little water just before ironing so that it will make steam as well.
 |
| The pineapple foliage goes on first. Press to adhere. |
4. Add additional pieces, spritz and press again. If you make a mistake, don't worry, you can usually pull the piece off (you may need to reheat it a little) and reposition it.
 |
| Add the gold piece, spritz again, press again. |
 |
| all ready for stitching! |
5. Time to stitch your project! Be aware that really tiny pieces will not be adhered very strongly, so you should stitch them on first. That way they won't get lost.
6. Backing piece: In this example, I cut out extra black circles (using the freezer paper method). After the appliqué stitching was all finished, I pinned the backing on and blanket stitched around the edges. If you wanted your piece to be a little stiffer, you could cut out your backing with fusible web.


